Unit testing a private method with a Private Accessor
Forward #
Upfront, it's probably worth noting that it's up for debate when you should run unit tests on private methods, but the existence of many workarounds proves that for some number of people, there's value in being able to verify the logic in private functions. I'd personally argue that private methods are allowed to hide implementation details, but I still want to be able to verify that I've done that implementation correctly.
All that aside, one way to do that is with an assembly accessor. This method has been officially deprecated according to the MS Docs on Unit Tests for Private, Internal, and Friend Methods. However we have several places that currently use this approach, so it's worth spelling out what it does before pivoting to newer solutions
Setup #
Here's an example class we could add to any project
class Maths
{
private int Add(int a, int b)
{
return a + b;
}
}
Historically, inside Visual Studio 2010, you could right click a private method, and select "Create Unit Tests" and VS would do the necessary work to make sure the private method was available.
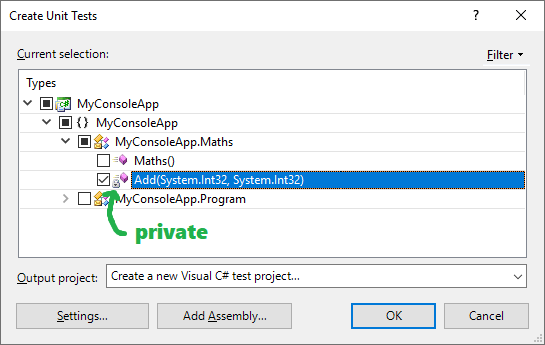
Which would display the prompt:
Add InternalsVisibleToAttribute
You have chosen to generate tests for a type that is marked as Friend, or Internal. Would you like to add the InternalsVisibleTo attribute to project 'MyConsoleApp'?
However, in Visual Studio 2017, this is no longer an option - instead you get the dialog
Create Unit Tests is supported only on a non-test project and within a public class or a public method.
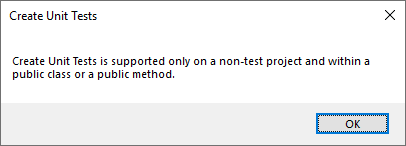
If we upgrade a 2010 project -> 2017, this approach will still work. If we want to seed a 2017 project from scratch, here's the manual steps to properly setup each project with the correct attributes.
Manually Add Private Test Accessor #
Let's say you're starting with a console app with the above class in a project named CoolConsoleApp.csproj
-
Create a new Test library. Go to your Solution, "Add New Project" and select "Unit Test Project" and name it
CoolConsoleApp.Test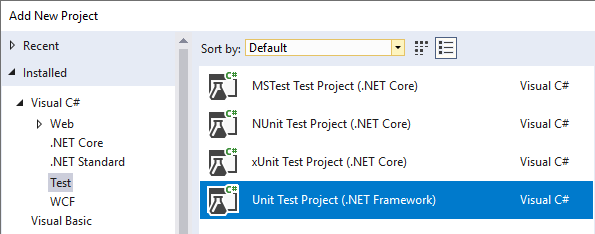
-
In the original console project, open
AssemblyInfo.csfile (usually under your project's Properties folder), and add the following compiler attribute[assembly: System.Runtime.CompilerServices.InternalsVisibleTo("CoolConsoleApp.Test")] -
In the test project, add a project reference to the console app and a reference to
Microsoft.VisualStudio.QualityTools.UnitTestFrameworkwhich should be installed somewhere like this:C:\Program Files (x86)\Microsoft Visual Studio\2017\Professional\Common7\IDE\PublicAssemblies\Microsoft.VisualStudio.QualityTools.UnitTestFramework.dllThis assembly adds a Build Action of
Shadowand also a[TestClass]attribute in theMicrosoft.VisualStudio.TestTools.UnitTestingNamespaceYou will also need to either remove the reference to
Microsoft.VisualStudio.TestPlatform.TestFrameworkor theusingstatements since they both bring in the same classes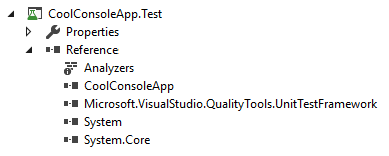
-
In the test project, create a folder named
Test Referencesand a text file namedCoolConsoleApp.accessor(easiest by using Add > New Empty File)The contents of the file should include the console project name and
Desktopas opposed to mobileCoolConsoleApp.exe DesktopAnd then set the Build Action to
Shadow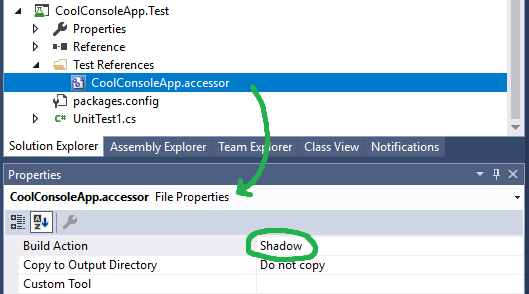
-
On the solution, create a new Folder named
Solution Itemsand then create a newTest Settingsfile namedlocal.testsettings
Especially if you get the warning "Unit Test Adapter threw exception: URI formats are not supported"
-
On each test method add a
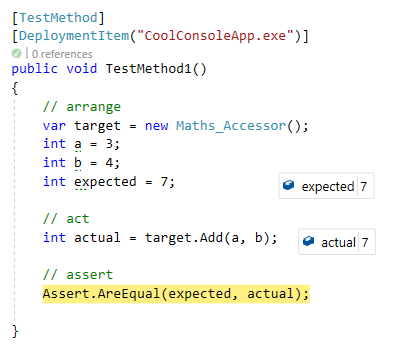
[DeploymentItem]attribute with the name of your package like this:[TestMethod] + [DeploymentItem("CoolConsoleApp.exe")] public void TestMethod1() -
And that should do it!
All that said, you might still run into build problems